How to set up Azure Blob Storage for file uploads
Microsoft Azure’s Blob Storage service can be a useful upload destination for receiving files from Velociraptor clients or collection containers from offline collectors in scenarios where the source system is internet connected and you do not want to stand up storage services on the local network.
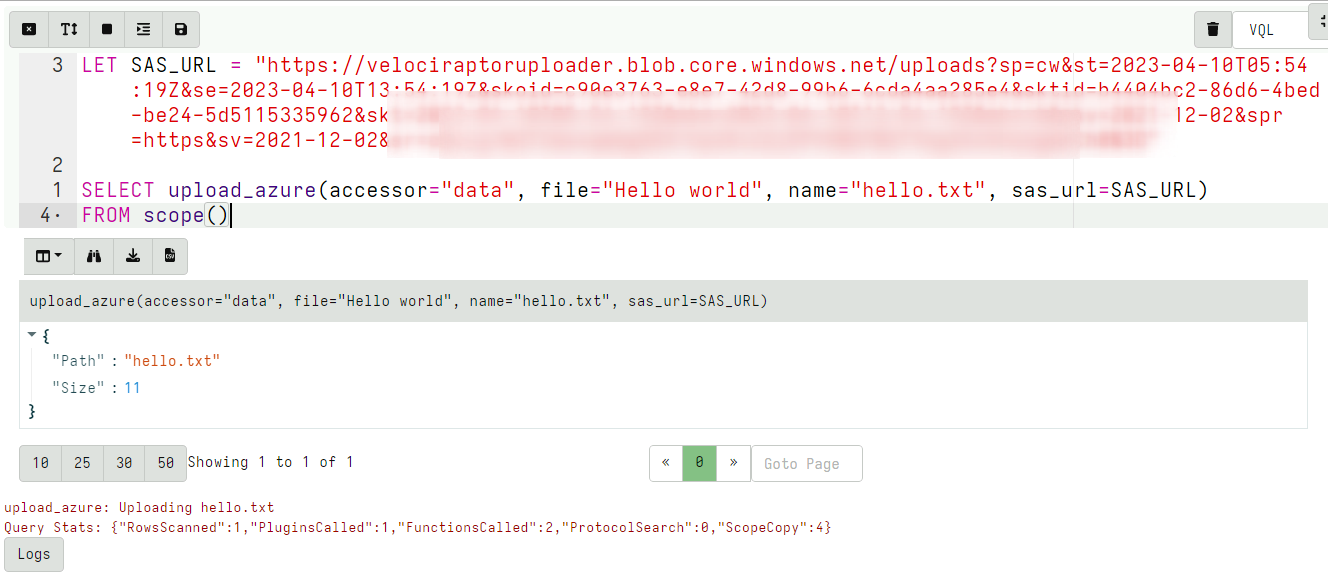
This is made possible by the upload_azure VQL function.
Azure supports an authentication policy called Shared Access Signature (SAS) making it convenient and secure to provide limited access to the a storage container. Using this method, we can embed a simple SAS URL that provides access to upload data to the storage container without granting the ability to download or remove any data.
This article explains how to set up an Azure storage container with appropriate security for file uploads.
Setup steps
-
Create a storage account.
-
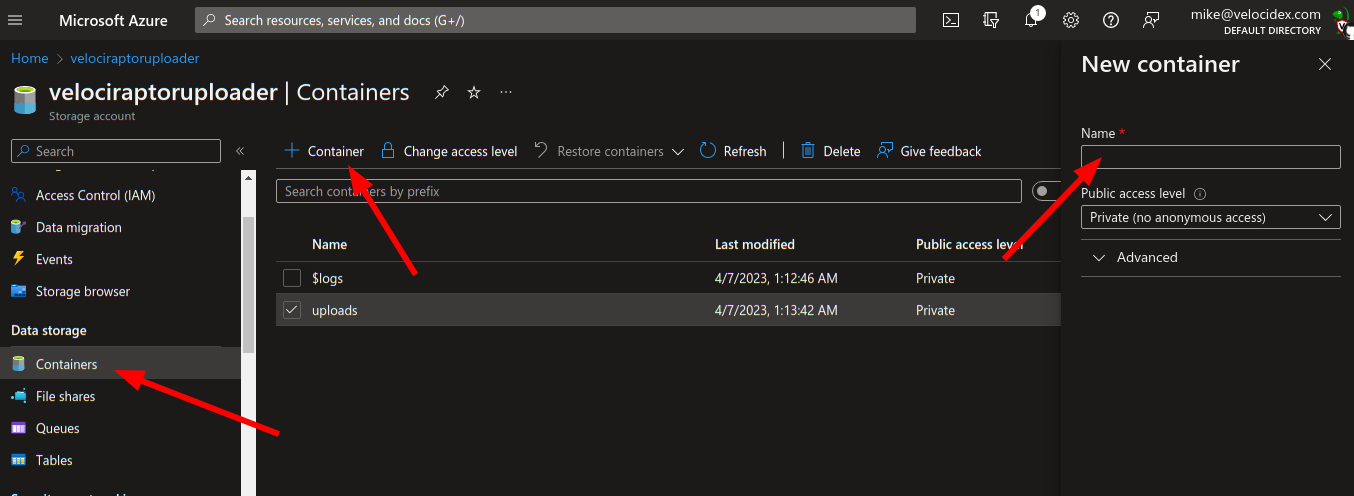
Create a new data storage container to receive the uploads
- Add a role assignment to allow the storage account to manage the storage

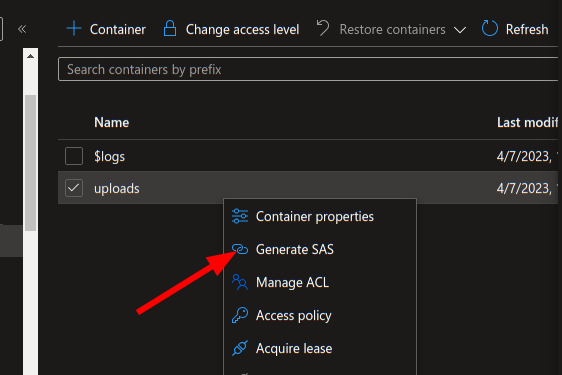
- Generate a SAS Policy URL.
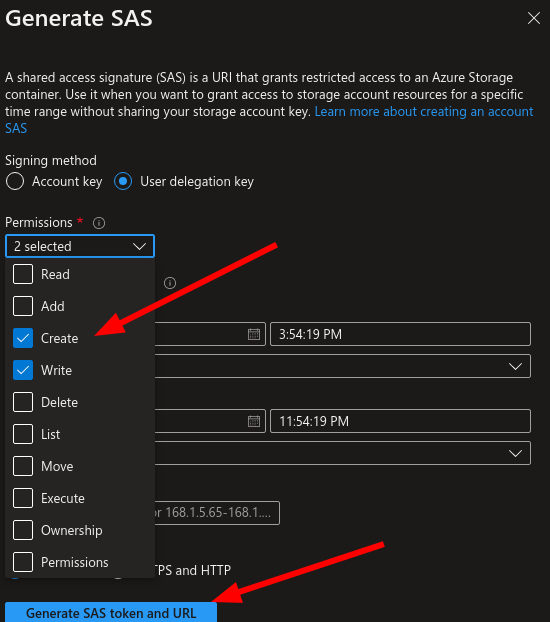
- Create a SAS policy with only write and create access. You can specify an appropriate expiry time for the SAS URL. After this time the uploader will no longer work.
- Test the SAS URL works properly
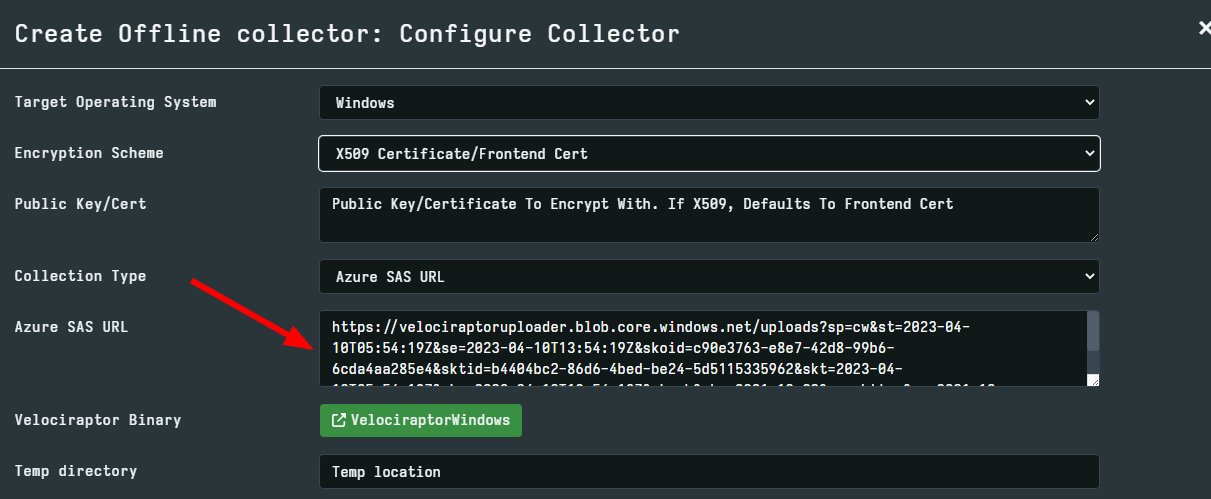
- Embed the SAS URL in the offline collector.